
There is something wonderfully comforting about a homemade Pear Crostata, especially when autumn arrives and pears are at their best. A buttery pasta frolla, tender pears slowly cooked with cinnamon and vanilla, and a golden lattice crust come together in this traditional Italian-inspired dessert.
Unlike recipes that use raw fruit, my Pear Crostata features Bosc pears gently cooked in butter and sugar before baking. This extra step develops a rich, almost caramelized flavor while allowing the pears to soften and retain their shape. And if you have ever struggled with a soggy fruit tart, I have two simple tricks to share: a little cornstarch to thicken the pear juices and crushed digestive biscuits to protect the bottom crust
The result is a rustic Italian dessert with a delicate balance of buttery pastry, warm spices and naturally sweet pears.
A LITTLE STORY FROM MY ITALIAN KITCHEN
Growing up in Northern Italy, crostata was one of those desserts that never needed a special occasion. Whether filled with homemade jam, fresh seasonal fruit or a simple ricotta cream, it was the kind of cake you could enjoy for breakfast, as an afternoon treat with coffee, or at the end of a family meal. What I have always loved about crostata is its simplicity. A handful of familiar ingredients, a homemade pasta frolla and whatever fruit happens to be in season. My Pear Crostata with Cinnamon celebrates that tradition.
I particularly enjoy baking with pears in autumn. Their delicate sweetness pairs beautifully with cinnamon, and when cooked slowly with butter, sugar and vanilla, they develop a rich, fragrant flavor. For this recipe, I chose Bosc pears, which hold their shape particularly well during cooking. I also wanted a generous filling, with recognizable pieces of pear rather than a smooth compote.
The finished crostata is rustic, fragrant and comforting — exactly the kind of homemade Italian dessert I love sharing.


WHAT IS A PEAR CROSTATA?
A Pear Crostata, or crostata di pere in Italian, is a sweet Italian pastry made with pasta frolla and filled with pears.
Pasta frolla is Italy’s traditional sweet shortcrust pastry, typically prepared with flour, butter, sugar and eggs. Depending on the family recipe, it may also contain lemon zest, vanilla or a little baking powder. Unlike a sponge cake or a fruit crumble, a crostata has a pastry base that holds the filling, often finished with a decorative lattice.
Pear Crostata is particularly suited to autumn and winter, when pears are plentiful and warm spices such as cinnamon complement their natural sweetness.
CROSTATA VS. TART VS. GALETTE: WHAT IS THE DIFFERENCE?
Although these desserts share some similarities, each belongs to a different pastry tradition.
- Italian Crostata:
- A crostata is a traditional Italian dessert usually made with pasta frolla. It can be filled with jam, fresh or cooked fruit, pastry cream, ricotta or chocolate.
- The pastry is typically pressed or rolled into a tart pan, and the top is often decorated with a lattice.
- The texture is buttery, tender and slightly crumbly.
- French Tart
- A tart is a broader pastry category, particularly associated with French baking.
- French tarts may use pâte sucrée, pâte sablée or other shortcrust pastries. Fillings range from fresh fruit and custard to chocolate, almond cream and savory ingredients.
- Many French fruit tarts are open-faced and feature carefully arranged fruit.
- A crostata can therefore be described as an Italian tart, although its pastry tradition and presentation are distinct.
- French Galette
- A galette is often a free-form pastry made without a tart pan.
- For a fruit galette, the dough is rolled into a circle, the filling is placed in the center, and the edges are folded over the fruit.
- The result is rustic, with a partially exposed filling and an irregular shape.
- The word galette also describes other French preparations, so it is not exclusively a fruit dessert.
The main difference: A crostata is rooted in the Italian pasta frolla tradition, a tart is a broader category of pastry, and a fruit galette is typically baked free-form without a pan.
WHY YOU WILL LOVE THIS PEAR CROSTATA
- Authentic Italian pastry: A traditional homemade pasta frolla creates a buttery, tender crust.
- Rich pear flavor: Slowly cooking the pears develops their sweetness and creates a delicious cinnamon-vanilla filling.
- No soggy bottom: Cornstarch and crushed digestive biscuits help control excess moisture.
- Perfect for entertaining: The filling and pastry can be prepared a day ahead.
- Seasonal and versatile: Ideal for autumn gatherings, Sunday lunches and holiday desserts.
- Beautifully rustic: The lattice topping gives this crostata its unmistakable homemade Italian character.
INGREDIENTS AND WHY THEY WORK
For the Pasta Frolla
- 300 g Italian 00 flour: Italian 00 flour is finely milled and produces a smooth, delicate pastry. All-purpose flour can also be used, although the texture may be slightly different.
- 150 g caster sugar: Caster sugar dissolves readily into the dough, contributing sweetness and a tender, biscuit-like texture.
- 100 g unsalted butter: Butter adds flavor and richness to the pastry. Use softened but not melted butter when mixing the dough with the KitchenAid.
- 1 whole egg and 1 egg yolk: The eggs bind the ingredients together. The additional yolk contributes richness and tenderness.
- 1 teaspoon baking powder: A small amount of baking powder gives the pastry a slightly softer texture, typical of many homemade Italian crostata recipes.
- 1 tablespoon finely grated lemon zest: Lemon zest brings freshness and balances the sweetness of the pastry and pear filling.
- A pinch of salt: Salt enhances the flavor of the butter and other ingredients.


For the Cinnamon Pear Filling
- 2 lb (approximately 900 g) Bosc pears: Bosc pears have a firm texture and hold their shape during cooking, making them an excellent choice for this recipe. The weight is measured before peeling and coring.
- 25 g unsalted butter: Butter gives the pears richness and helps create a glossy, flavorful filling.
- 60 g caster sugar: Sugar enhances the natural sweetness of the pears and contributes to the syrupy, caramel-like flavor developed during cooking.
- 1½ teaspoons ground cinnamon: Cinnamon adds warmth and complements the delicate flavor of the pears without overwhelming them.
- 1 teaspoon vanilla extract: Vanilla rounds out the flavors and adds warmth to the pear filling, enhancing the caramel-like notes developed during slow cooking.
- 2 teaspoons cornstarch:Cornstarch thickens the juices released by the pears, helping prevent excess moisture from soaking into the pastry.
- 4 digestive biscuits, finely crushed:The biscuit crumbs form an absorbent layer between the pastry and the fruit filling, helping protect the bottom crust.
- A pinch of salt: A little salt balances the sweetness and enhances the flavor of the pears.
HOW TO MAKE PEAR CROSTATA
Making this Italian Pear Crostata is easier than you might think. The recipe has three main components: a homemade pasta frolla, a fragrant cinnamon-vanilla pear filling, and a simple lattice topping.
1. Prepare the Pasta Frolla
Using a KitchenAid stand mixer, combine the eggs and sugar first, then add the flour, butter, baking powder, lemon zest and salt. Mix until a dough forms, wrap and refrigerate for at least one hour.


2. Cook the Pear Filling
Slowly cook the chopped Bosc pears with butter, sugar, cinnamon and vanilla for approximately 20 minutes, until tender and lightly caramelized. Add the cornstarch to thicken the juices, then let the filling cool completely.


3. Assemble the Crostata
Roll out the chilled pastry and line your tart dish. Sprinkle crushed digestive biscuits over the base, add the cooled pear filling and finish with a traditional lattice topping.


4. Bake Until Golden
Bake at 350°F (175°C) for approximately 50 minutes, until the pastry is golden and the bottom crust is fully cooked. Allow the crostata to cool completely before slicing.

My tip: You can prepare both the pasta frolla and pear filling the day before. Keep them refrigerated separately, then assemble and bake the crostata the following day.
THE SECRET TO A PERFECT PEAR CROSTATA FILLING
The secret to a delicious Pear Crostata is achieving the right balance between tender, flavorful pears and a perfectly baked pastry crust. Pears naturally contain a lot of moisture, which can make the bottom of a crostata soggy.
For this recipe, I use three simple techniques: slowly cooking the pears, thickening their juices with cornstarch, and adding a layer of crushed digestive biscuits beneath the filling.
Why Cook the Pears Before Baking?
Unlike recipes that use raw pears, I prefer to cook mine slowly with butter, sugar, cinnamon and vanilla before assembling the crostata.
This extra step makes a noticeable difference:
- Concentrates the flavor: Gentle cooking allows the pears to develop a rich, caramel-like sweetness.
- Reduces excess moisture: The pears release some of their natural juices before going into the pastry.
- Creates the perfect texture: The fruit becomes tender while retaining its shape rather than turning into a compote.
- Enhances the spices: Cinnamon and vanilla blend with the butter and sugar, creating a fragrant coating around the pears.
My tip: I cook firm Bosc pears over low heat for approximately 20 minutes. If your pears are already ripe, shorten the cooking time to prevent them from becoming too soft.
Why Add Cornstarch to the Pear Filling?
Even after cooking, pears retain some moisture that can be released during baking. Cornstarch helps control that moisture without changing the delicate flavor of the fruit.
Here’s why I use it:
- Thickens the natural juices: Cornstarch transforms the liquid released by the pears into a light, glossy sauce.
- Prevents a watery filling: It reduces the amount of free liquid that could soak into the pastry.
- Helps the filling hold together: The pears remain coated in a slightly thickened sauce, making the crostata easier to slice.
My tip: Mix 2 teaspoons of cornstarch with a little cold water before adding it to the hot pears. Cook for another 1–2 minutes to activate the thickening.
Why Use Digestive Biscuits to Prevent a Soggy Crust?
This is one of my favorite tricks when making fruit-filled Italian crostate. Before adding the cooked pears, I sprinkle a thin layer of crushed digestive biscuits directly over the unbaked pasta frolla.
The biscuits serve three purposes:
- Absorb excess moisture: They catch some of the juices released by the filling during baking.
- Protect the pastry base: The biscuit layer helps prevent moisture from soaking directly into the pasta frolla.
- Add subtle flavor: Their lightly toasted, buttery taste complements the cinnamon and caramelized pears.
My tip: Four finely crushed digestive biscuits are enough for a 9–9½-inch crostata. Spread the crumbs evenly, without creating a thick layer. If digestive biscuits are unavailable, plain Italian biscotti secchi are an excellent alternative.
Do You Need to Blind-Bake a Pear Crostata?
No. With these three techniques, there is no need to blind-bake the pastry.
The pre-cooked pears contain less free moisture, the cornstarch thickens the remaining juices, and the digestive biscuits provide an additional protective layer.
I tested this method in my Staub ceramic tart dish, baking the crostata at 350°F (175°C) for 50 minutes, and the bottom crust was fully cooked.
The result is a tender cinnamon-vanilla pear filling surrounded by buttery pasta frolla, without a soggy bottom.
WHICH PEARS ARE BEST FOR PEAR CROSTATA?
Not all pears behave the same way when cooked.
- Bosc Pears — My First Choice
- Bosc pears have firm flesh, a delicate sweetness and a slightly floral flavor. They maintain their shape particularly well, even when cooked.
- They are ideal for a crostata with a generous filling and recognizable pieces of fruit.
- Anjou Pears
- Anjou pears are another good option. They have a smooth texture and mild sweetness, although very ripe pears can become softer during cooking.
- Bartlett Pears
- Bartlett pears are juicy and fragrant, but they soften more readily. If using them, choose fruit that is still slightly firm and reduce the initial cooking time as needed.
My recommendation: Choose pears that are ripe enough to have developed flavor but still firm to the touch. Overripe pears can become mushy and release too much liquid.
TIPS FOR THE BEST PEAR CROSTATA
- Make the pastry ahead. Refrigerating pasta frolla allows the dough to rest, making it easier to roll and less likely to shrink during baking.
- Cook the pears gently. Low heat helps the fruit soften gradually and allows the flavors to develop without scorching the sugar.
- Cool the filling completely. Warm filling can soften the butter in the pastry before baking, making the crust more difficult to handle.
- Do not skip the biscuit layer. It is an easy way to provide additional protection against excess moisture.
- Keep the lattice strips relatively thin. Strips approximately 3–4 mm thick bake more evenly and create a delicate finish.
- Chill before baking. A short rest in the refrigerator helps the assembled pastry maintain its shape.
- Pay attention to your baking dish. Metal tart pans conduct heat more quickly than ceramic dishes. A ceramic dish may need additional baking time to ensure the bottom crust is cooked.
- Let the crostata cool before serving. The filling will firm up as it cools, making it easier to cut neat slices.

PEAR CROSTATA VARIATIONS
This Pear crostata is very versatile, just a few addition or swaps, and you will always ave a different flavor to share at your table!
- Pear and Almond Crostata: Add a thin layer of ground almonds beneath the pears for a delicate nutty flavor. Almonds pair beautifully with cinnamon and fruit.
- Pear and Chocolate Crostata: Sprinkle a small amount of finely chopped dark chocolate over the biscuit layer before adding the pears. The chocolate melts into the filling, creating a richer dessert.
- Pear and Walnut Crostata: Add toasted, chopped walnuts to the cooked pear filling for a pleasant contrast in texture.
- Pear Crostata with Orange Zest: Replace the lemon zest in the pastry with finely grated orange zest for a warmer citrus note.
- Pear and Apple Crostata:Replace part of the pears with firm apples for a filling with slightly more acidity and a different texture.

Equipment
- 1 Rolling Pin
- 1 tart pan 9 inch diameter
- 1 pastry cutter
Ingredients
For the crust pie
- 300 gr flour baking 00
- 150 gr sugar caster
- 100 gr butter unsalted
- 1 tsp baking powder
- 1 tbsp lemon zest grated
- 1 pinch salt
- 1 unit egg yolks
- 1 unit egg whole
For the filling
- 25 gr butter unsalted
- 2 lb pear Bosc, peeled and chopped
- 60 gr sugar caster
- 1 pinch salt
- 2 tsp corn starch
- 1.5 tsp cinnamon
- 4 units cookies digestive
Instructions
Prepare the Pasta Frolla
- Mix the eggs and sugar. In the bowl of a KitchenAid stand mixer fitted with the flat beater, combine the whole egg, egg yolk and caster sugar. Beat on medium speed for approximately 2 minutes, until the mixture is well combined and slightly lighter in color.
- Add the remaining ingredients. Add the flour, softened butter, baking powder, lemon zest and salt. Mix on low speed until the ingredients begin to come together and form a dough. Avoid overmixing, which can make the pastry tough.
- Shape and chill. Transfer the dough to a lightly floured work surface. Gently bring it together with your hands, shape into a disk and wrap tightly in plastic wrap. Refrigerate for at least 1 hour, or overnight.
Prepare the Cinnamon Pear Filling
- Prepare the pears. Peel, core and chop the Bosc pears into medium-sized pieces, approximately ½–¾ inch (1.5–2 cm). Keeping the pieces relatively uniform will help them cook evenly.
- Cook the pears. Melt the butter in a large skillet over low heat. Add the chopped pears, caster sugar, cinnamon, vanilla extract and salt. Stir gently to coat the pears.
- Develop the flavor. Cook over low heat for approximately 20 minutes, stirring occasionally, until the pears become tender and the juices develop a glossy, caramel-like consistency. The pears should soften but retain their shape. If using very ripe pears, reduce the cooking time.
- Thicken the filling. In a small bowl, mix the cornstarch with approximately 1 tablespoon of cold water until smooth. Stir the mixture into the pears and cook for another 1–2 minutes, until the juices thicken and lightly coat the fruit.
- Cool completely. Remove the skillet from the heat and transfer the filling to a bowl. Allow it to cool completely before assembling the crostata. If preparing it the day before, refrigerate in an airtight container.
Assemble the Crostata
- Prepare the oven and tart dish. Preheat the oven to 350°F (175°C). Position the rack in the lower-middle section of the oven. Lightly butter a 9–9½-inch (23–24 cm) tart dish if needed.
- Roll out the pastry. Remove the pasta frolla from the refrigerator and let it rest at room temperature for approximately 10 minutes, or until pliable. Reserve about one-third of the dough for the lattice. Roll out the remaining two-thirds on a lightly floured surface to approximately 3–4 mm thick.
- Line the tart dish. Carefully transfer the pastry to the dish, pressing it gently against the bottom and sides. Trim the excess dough with a sharp knife.
- Add the biscuit layer. Crush the digestive biscuits into fine crumbs and sprinkle them evenly over the unbaked pastry base. This layer helps absorb excess moisture released by the pears during baking.
- Add the pear filling. Spoon the completely cooled pear mixture over the biscuit layer, spreading it evenly with the back of a spoon.
- Create the lattice. Roll out the reserved dough to approximately 3–4 mm thick. Using a pastry wheel or sharp knife, cut it into strips approximately ½–¾ inch (1.5–2 cm) wide. Arrange the strips over the filling in a crisscross pattern, gently pressing the ends into the pastry edges.
- Chill before baking. Refrigerate the assembled crostata for 15–20 minutes to help the pastry hold its shape during baking.
Bake and Serve
- Bake the crostata. Place the tart dish on the lower-middle oven rack and bake at 350°F (175°C) for approximately 50 minutes, until the lattice and edges are golden brown and the pastry is cooked through.
- Protect the edges if necessary. If the edges begin browning too quickly, cover them loosely with aluminum foil during the second half of baking. Ceramic dishes may require slightly longer baking times than metal pans.
- Cool before slicing. Remove the crostata from the oven and let it cool completely in the dish, approximately 2 hours. This allows the filling to set and makes it easier to cut clean slices.
- Serve. Enjoy at room temperature, on its own or with a spoonful of mascarpone cream, vanilla gelato or lightly whipped cream.
Notes
- Choosing the pears: Bosc pears are ideal because they retain their shape during cooking. Select pears that are firm but flavorful. Very ripe pears will require less cooking time.
- Preventing a soggy bottom: Three techniques work together in this recipe: pre-cooking the pears to reduce moisture, adding cornstarch to thicken their juices, and sprinkling crushed digestive biscuits over the pastry base.
- No blind-baking required: The pastry and filling bake together. I tested this recipe in a Staub ceramic tart dish at 350°F for 50 minutes, and the bottom crust was fully cooked.
- Make ahead: Prepare the pasta frolla and pear filling the day before. Store separately in the refrigerator and assemble just before baking.
- Storage: Refrigerate leftover crostata in an airtight container for up to 3–4 days. Bring to room temperature before serving or warm gently in the oven.
- Flour measurement: For the most consistent pasta frolla, weigh the flour in grams rather than relying on cup measurements.
Nutrition
FREQUENTLY ASKED QUESTIONS ABOUT PEAR CROSTATA
Can I Use All-Purpose Flour Instead of Italian 00 Flour?
Yes. All-purpose flour works well as a substitute for Italian 00 flour when making pasta frolla. The texture may be slightly different depending on the flour’s protein content, but the pastry will still be delicious. For the best results, measure the flour by weight.
Can I Make Pear Crostata Without a KitchenAid?
Absolutely! You can use a hand mixer to combine the eggs and sugar, then incorporate the remaining ingredients with a spatula or your hands. Work the dough gently and stop mixing as soon as it comes together to maintain a tender, crumbly texture.
Can I Use Different Types of Cookies Instead of Digestive Biscuits?
Yes. Italian biscotti secchi, plain tea biscuits or graham crackers are good alternatives. Choose a dry, crisp cookie with a mild flavor that won’t overpower the pears and cinnamon. Crush them finely and spread them evenly over the pastry base.
Can I Make Pear Crostata Without a Lattice?
Of course! Although a lattice is traditional, you can leave the filling exposed or decorate the crostata with small pastry cutouts. Stars or leaves are particularly lovely for an autumn dessert.
Why Is My Pasta Frolla Cracking When I Roll It Out?
Pasta frolla is naturally more delicate than some other pastry doughs. If it is too cold, it may crack when rolled. Let it rest at room temperature for 10–15 minutes until slightly pliable. If small cracks appear, gently press them together with your fingers.
Can I Reduce the Sugar in This Pear Crostata?
You can slightly reduce the sugar in the pear filling if your fruit is particularly sweet. However, I recommend keeping the pasta frolla proportions unchanged, as the sugar contributes to the pastry’s texture as well as its flavor.
Can I Use a Metal Tart Pan Instead of a Ceramic Dish?
Yes. A metal tart pan, preferably with a removable bottom, works very well. Metal conducts heat more quickly than ceramic, so start checking the crostata after approximately 40 minutes. The pastry should be golden and fully baked before removing it from the oven.
Can I Prepare Pear Crostata the Day Before Serving?
Yes, and it is a wonderful dessert to prepare ahead when entertaining. You can make the pasta frolla and cook the pear filling the day before, storing them separately in the refrigerator. Assemble and bake the crostata the following day. Alternatively, bake the entire crostata a day ahead, refrigerate it once cooled, and bring it to room temperature before serving.
WHAT TO SERVE WITH PEAR CROSTATA
One of the things I love about Italian crostata is that it doesn’t need much accompaniment. It is delicious at room temperature, when the buttery pastry and cinnamon-scented pears can be fully appreciated.
For a special occasion, you can serve it with:
- A spoonful of lightly sweetened mascarpone cream.
- Some vanilla gelato.
- A dollop of softly whipped cream.
- For a less sweet option, a spoonful of thick Greek yogurt for a .
Beverage Pairings
- Coffee: A classic Italian espresso is a wonderful accompaniment, especially in the afternoon.
- Tea: Earl Grey or a delicate black tea complements the warm cinnamon notes.
- Dessert wine: Moscato d’Asti, with its gentle sweetness and floral character, pairs nicely with the pears without overwhelming them.
HOW TO STORE PEAR CROSTATA
At Room Temperature: Because this crostata contains a moist, cooked fruit filling, I recommend refrigerating leftovers rather than leaving them at room temperature for extended periods. It can remain out for serving for up to 2 hours.
In the Refrigerator: Once completely cooled, cover the crostata and refrigerate for up to 3–4 days. The pastry will gradually soften as it absorbs moisture from the filling.
Can You Freeze Pear Crostata?: Yes. Once completely cooled, wrap individual slices tightly and freeze for up to 2 months for best quality. Thaw overnight in the refrigerator. To refresh the pastry, warm slices gently in a 300°F (150°C) oven until heated through.
Can You Make It Ahead? Absolutely. The pasta frolla can be prepared a day or two ahead and refrigerated. The pear filling can also be cooked the day before, cooled and stored in an airtight container in the refrigerator. Assemble the crostata with cold filling shortly before baking.
MORE ITALIAN DESSERT FOR YOU
Easy Italian Pear Cake Italian Pear Cake. A moist and soft cake, perfect to end a meal, for breakfast or whenever you need something sweet. A slice of heaven, soft and sweet just enough to be a real crowd pleaser!
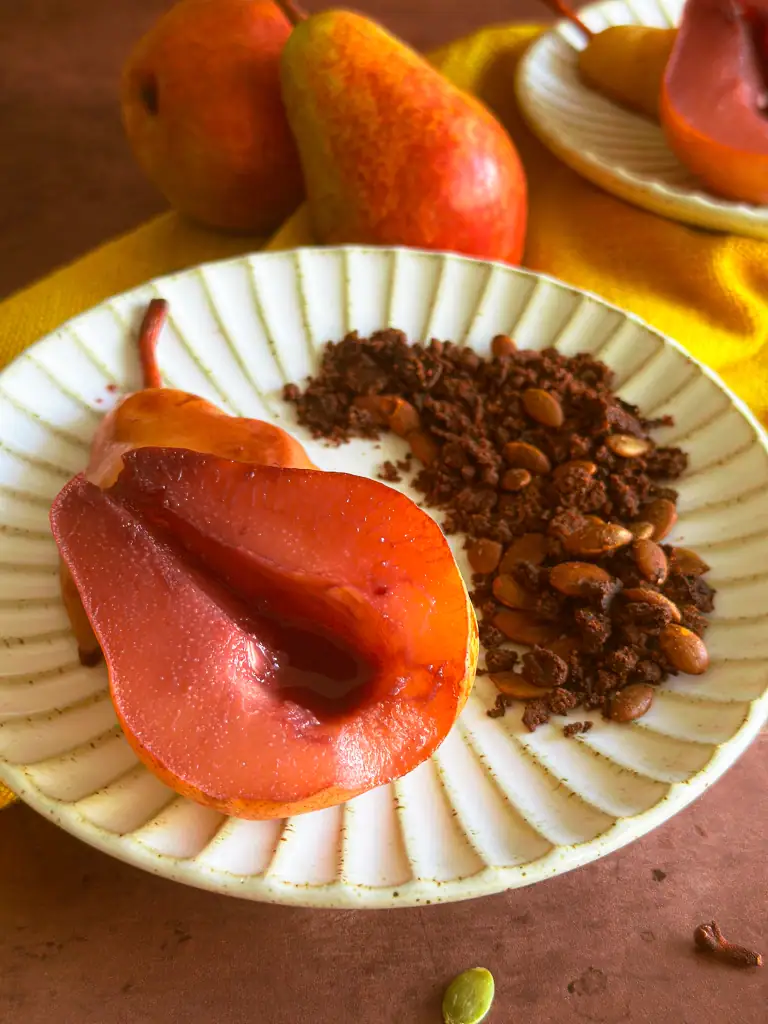
Red Wine Poached Pear with Chocolate Crumble:Poached pears are a timeless dessert that transforms humble fruit into something truly special. This recipe highlights the beauty of ripe pears slowly simmered in an aromatic bath of wine, sugar, and spices.

Italian Apple Cake: This authentic Italian Apple Cake (Torta di Mele) is a simple, one-bowl recipe that’s soft, moist, and loaded with apples. A family recipe from my nonna, for a nostalgic cake!
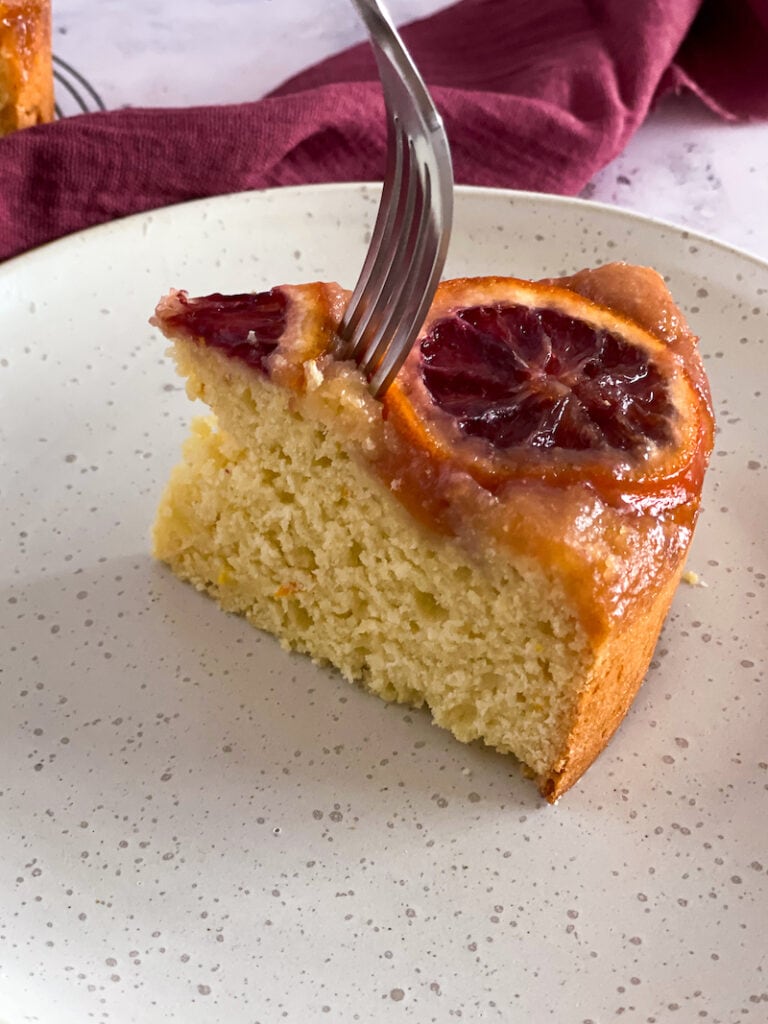
Blood Orange Ricotta cake: this elegant upside-down cake is moist, fluffy and I promise you EASY! It’s the perfect showstopper for your next gatherings.

✨ This Pear Crostata is the perfect dessert for these first days of fall. I would love to connect with you through my recipe and I will be very appreciative of your comments! If you make this recipe make sure to tag me on Instagram @Italian_kitchen_confessions. To get more ideas follow me on Pinterest.✨


