
Homemade Orecchiette recipe has been updated since it last version of May 2023.
Orecchiette — meaning “little ears” in Italian — is one of the most iconic pasta shapes from Puglia, the sun-drenched heel of Italy’s boot. Made simply with semolina flour and water, these delicate little cups are designed to catch sauces perfectly and bring an authentic taste of southern Italy straight to your table. Made with just semolina and water, they deliver a chewy, sauce-catching bite that’s unique.
I grew up learning the art of handmade pasta from my family in Veneto, but Puglia stole my heart for its unique traditions and rustic dishes. Learning how to shape orecchiette dates back to the years of college. Many of my inmates in the dormitory were from Puglia: every Sunday they were getting together in the kitchen and making orecchiette.
I was watching them and mesmerized by the chatting, the funny stories about their towns and on how quick they were! One day I asked if I could join and learn: they welcome me and that day I could also share a little bit of my background of risotto, gnocchi and agnolotti.
I’ll always be grateful to my girlfriends for sharing with me more than just a recipe. They gave me a glimpse into a tradition filled with friendship, laughter, and the true essence of Italian culture. No matter which beautiful region you come from, the kitchen is where our stories connect.
WHAT ARE ORECCHIETTE?
This traditional Italian pasta is characterized by its shape, which is reminiscent of small ears. The orecchiette pasta shape gives them a unique texture that is soft in the center and slightly chewy around the edges. Orecchiette origin is attributed to the Puglia region. Orecchiette was first found in the 8th century, when the region was under the Norman rule. Some food historians believe that their shape recalls the the roofs of traditional cone-shaped huts which were built in the region, called trulli.
Nowadays in Puglia still persist a strong tradition of passing down from one generation to another the method of making orecchiette. You can also buy them dry in the most assorted grocery stores. But I have to confess that nothing compares to making your own.

NOTES ON INGREDIENTS
Orecchiette recipe is simple and authentic: staples requires only 3 ingredients: durum wheat flour or semola rimacinata, water and salt.
Semola rimacinata: durum wheat flour is a harder flour that will better retain pasta shape. It is ideal to use for this shape and in general for any short type pasta such as cavatelli, trofie and malloreddus. You will need 300 gr of flour (use a digital scale as it is more accurate). The ratio of flour and water is very important to ensure a great result. I recommend using Caputo durum-wheat semola.
MY TIP: Semola rimacinata is a very fine flour and absorbs liquids more readily. It is what you need to make pasta. Semola instead is the same type of flour, but coarser. You will use it to sprinkle your work surface and your pasta to prevent sticking.
Water: simple, easy, but lukewarm water, added to the flour will give you that chewy consistency that is divine! Use 5 fl oz. Approximately half of the weight and add a few tablespoons in case your dough results dry.
Salt: because everything taste better with a bit of salt!
And of course you will need a lots of love, because that love and dedication you will put into making your ear shaped pasta dough will come through in every bite!
HOW TO SHAPE ORECCHIETTE
To make orecchiette pasta by hand like my inmates were, follow these few simple steps. You will master the art of making this traditional Italian pasta dish in the comfort of your own kitchen.
Step 1 — Make the Dough
- On a wooden board, pile the durum wheat flour and mix in the salt.
- Shape into a volcano and pour the lukewarm water into the center.
- Use a fork to gradually incorporate the flour, then knead with your hands until a rough dough forms.
MY TIP: Add water slowly so that the semolina flour can absorb it properly. This will prevent the dough to become too dry or crack.
Step 2 — Knead & Rest
- Knead for 8-10 minutes until smooth and elastic.
- Test by pressing your thumb gently — the dough should bounce back.
- Cover with a towel and rest for 30 minutes.
MY TIP: Why should I rest the dough? The resting period allows the flour to continue to hydrate, and the gluten network to relax. If you skip this step it will be an epic disaster: your dough will be too elastic AND WILL NOT KEEP THE SHAPE!
Alternatively you can add the flour in a food processor and then add the water while you are mixing it with the flour. It will be faster, but I have to say that doing it by hand is the best way to go as you can really feel the dough coming together.
Step 3 — Roll & Cut
- Divide the dough into four equal parts.
- Roll each into a rope about 1 cm (½ inch) thick.
- Cut into 1.5 cm (½ inch) pieces.
- Roll them into balls.
MY TIP: Always dust the working surface and your hands with semolina. This will prevent the dough from sticking to the surface or the knife.


Step 4 — Shape the Orecchiette
- Place a piece of dough under your knife.
- Press firmly and drag it toward you, letting it curl up naturally.
- Flip it inside out over your thumb to create the classic “ear” shape.
MY TIP: Always dust the shaped orecchiette with semolina. This will prevent them from sticking when you cook them. In addition press just enough with the knife and your thumb to create the hollow center without thinning it too much. This will give you the rustic shape and will keep the shape!


Step 5:
- Repeat this process with each piece of dough until you have enough orecchiette for your desired serving size.


Making orecchiette at home takes a little practice, but once you get the technique right, you’ll be rewarded with the chewy bite and sauce-loving texture that no store-bought version can match.

Equipment
- 1 wooden board
- 1 knife sharp
Ingredients
- 300 gr durum wheat flour semolina
- 5 fl oz water lukewarm
- 1 pinch salt
Instructions
- STEP 1: Make the doughGather all necessary ingredients for the recipe. Mix the flour with salt and form a volcano. Place the water in the middle of the volcano. Helping yourself with a fork start incorporating the flour with the water until you have a paste that you can start working with you hands.
- STEP 2: Knead & RestSpread some flour on the work surface and knead the dough until it becomes smooth and it is elastic. You will know it is ready when you impress a thumb in the dough and dough bounce back immediately. Let the dough rest for 30 minutes covered with a tea towel (see notes).
- STEP 3: Roll & CutNow, take the dough and with the knife divide in 4 equal part. Take a quarter and start rolling it out into a long thin rope about 1/2 inch in diameter.
- STEP 4: Shape the OrecchietteCut the rope into small pieces about 1/4 inch long. Take each piece and make a ball just by molding it with your hands. Using your knife (or thumb or index finger) press down on each piece of dough and drag it towards you. It will curl up on itself then you turn it inside out over your finger.
- STEP 5: Finish making the orecchietteRepeat this process with each piece of dough until you have enough orecchiette for your desired serving size.
- STEP 6: Cooking Homemade OrecchietteBring a large pot of salted water to a boil. Drop in the orecchiette and cook for 7-9 minutes, until they float to the surface. Reserve ½ cup of pasta water — it’s liquid gold for finishing sauces.
Notes
Nutrition
FAQ
Can I use all-purpose flour instead of durum wheat flour?
Technically you can use all-purpose flour, but your orecchiette will be softer and more delicate. Yes, but it’s not ideal. Traditional orecchiette are made with durum wheat semola because it gives the pasta its distinct chewiness and helps the shape hold better. If you use all-purpose flour, the texture will be softer and less authentic, but it can work in a pinch. For the best results, always use semola rimacinata di grano duro.
Why is my dough cracking or too dry?
You likely need more water. Add 1 tablespoon at a time until the dough comes together smoothly.
Can I dry orecchiette overnight?
Yes! Just dust them with semolina and spread them on a tray covered with a clean towel.
How do Italians eat orecchiette?
Italians typically toss orecchiette directly into the sauce rather than plating pasta and sauce separately. The pasta is briefly simmered in the sauce with a splash of reserved pasta water to achieve a silky, well-coated finish. In southern Italy, it’s also common to enjoy them slightly al dente to preserve their chewy texture.
WHICH SAUCE GOES BEST WITH ORECCHIETTE?
Orecchiette pasta is Perfect for Sauces — the shape cradles everything from rich ragù to light pesto.
A classic pasta sauce is broccoli rabe, anchovies and pecorino cheese: savory and simple, the perfect pairing with this traditional pasta shape. Since I love to eat by the season I picked a Wild Ramp Pesto Sauce.


Here for you my favorite sauces to pair this little ears wonder:
Classic Pesto: vegetarian and relatively light, this sauce pair a North and South Italy tradition.
Broccoli and Sausage: spicy, more of a complete meal thanks to the addition of pork sausage.
Authentic Italian Tomato Sauce (Sugo al Pomodoro): great in summer, when tomatoes are in season. Or in the winter if you canned, jarred your own tomatoes.
Cauliflower and Anchovies Pasta A simple sauce that hits the spot not only for its delicious flavor and interesting texture, but also because it is an easy pantry staple dish ready in 30 minutes!
WHAT TO SERVE WITH ORECCHIETTE
Orecchiette can be part of a menu, that you will chose depending on the sauce of choice:
Vegetarian sauce ( Wild Ramp Pesto, Pesto Genovese, Tomato Sauce), or broccoli rabe sauce : serve a spring side salad and maybe some meatballs for starters or some zucchini fritters to add more consistency to the entire meal.
Meat based sauce (sausage and broccoli, or a ragu’) I would add some roasted vegetables depending on the season: carrots, bell peppers or asparagus.
HOW TO STORE ORECCHIETTE
Storing: if you have dried them very well, the orecchiette can be stored in a cool, dry place for about a month.
Freeze: Alternatively, you can freeze them. Place them on a tray well spaced out and put them in the freezer. After about an hour they will have already frozen a little. Then you can transfer them to freezer bags, which are more practical. Freezing will work if you make a big batch.
It’s not necessary to thaw the orecchiette before cooking, but you can dip them directly into boiling salted water while still frozen – just add 1–2 extra minutes to cook time.
MORE HOMEMADE PASTA PASTA RECIPES FOR YOU
If you liked making orecchiette, here are some other short shape homemade recipes.
Semolina Pasta Dough: same dough as orecchiette
Trofie the rustic texture of the pasta and its undulating, elongated shape seem made to catch more of the sauce.
Cavatelli: Cavatelli means in fact little hollows because their shell shape present a hollow in the middle, which allows them to collect extra sauce, making every bite delectable


Potato Based Dough
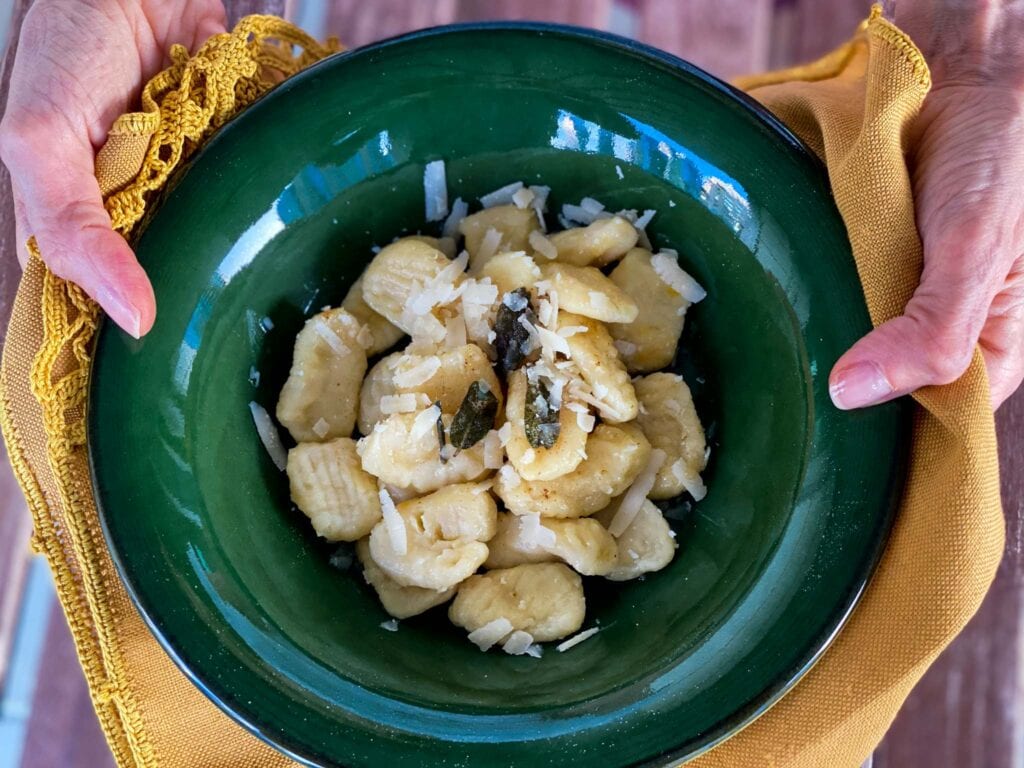
Gnocchi: classic Venetian potato dumpling made accordingly to my grandmother’s recipe.

Egg Based Dough
Garganelli They are a type of short fresh tubular pasta that present vertical ridges on the surface.
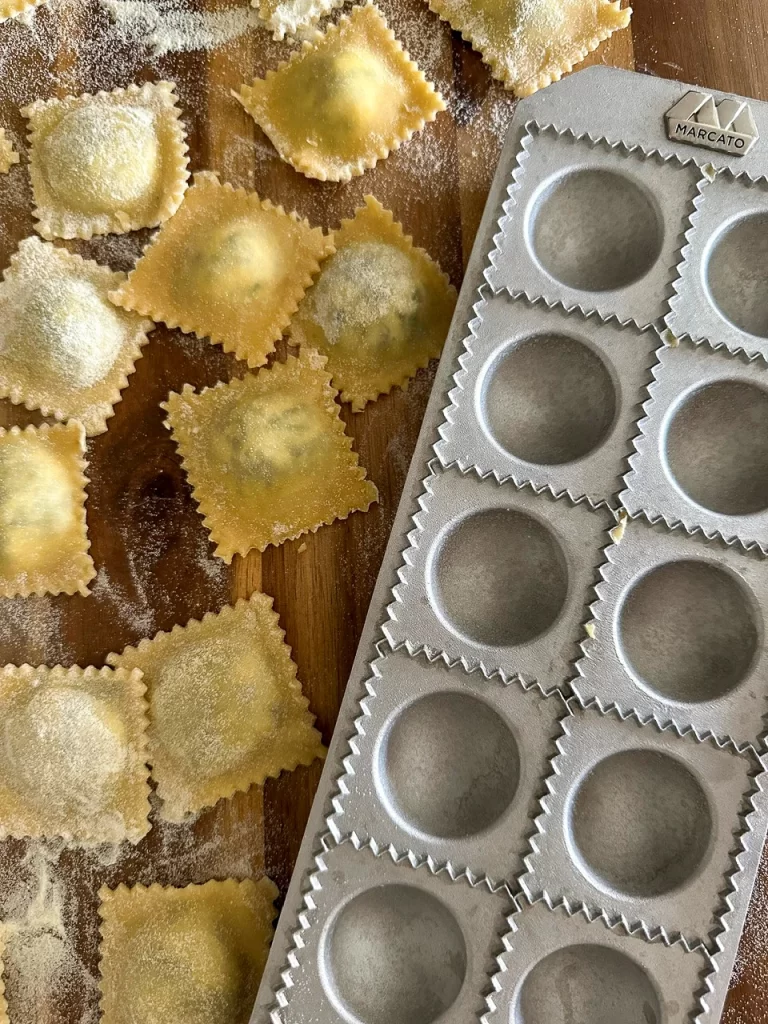
Spinach Ricotta Ravioli: an Italian classic, great when spinach are fresh and in season.

Please let me know in the comments how you like this Homemade Orecchiette pasta recipe, and if you make it please leave a star rating! I would really love to hear from you!
This homemade Orecchiette recipe contains affiliate links for products we love. Italian Kitchen Confessions earns a small commission on these links at no cost to you.


Buonissime!